Updated July 27, 2026

3D Roofs Editorial Team
Editorial Standards
A roof inspection is useful when its purpose, limits, observations, and conclusions are clear. A maintenance review is not the same as tracing an active leak. A storm-condition report is not the same as an insurer's coverage decision. A real-estate overview may not include opening concealed details or designing a repair. Before anyone arrives, define the question the inspection must answer and the written result you expect to receive.
Choose the inspection purpose first
- Maintenance: establish current condition, locate service items, and set specific triggers for rechecking the roof.
- Leak diagnosis: connect interior evidence to possible water paths, test likely details when appropriate, and define a repair boundary.
- Post-weather review: document what changed by roof area and distinguish event evidence from installation issues, weathering, and prior damage.
- Repairability or replacement planning: evaluate surrounding material, access, matching, concealed layers, and whether new work can tie into sound roofing.
- Transaction or due diligence: describe visible condition and records while stating access limits, unknowns, and which specialists should investigate further.
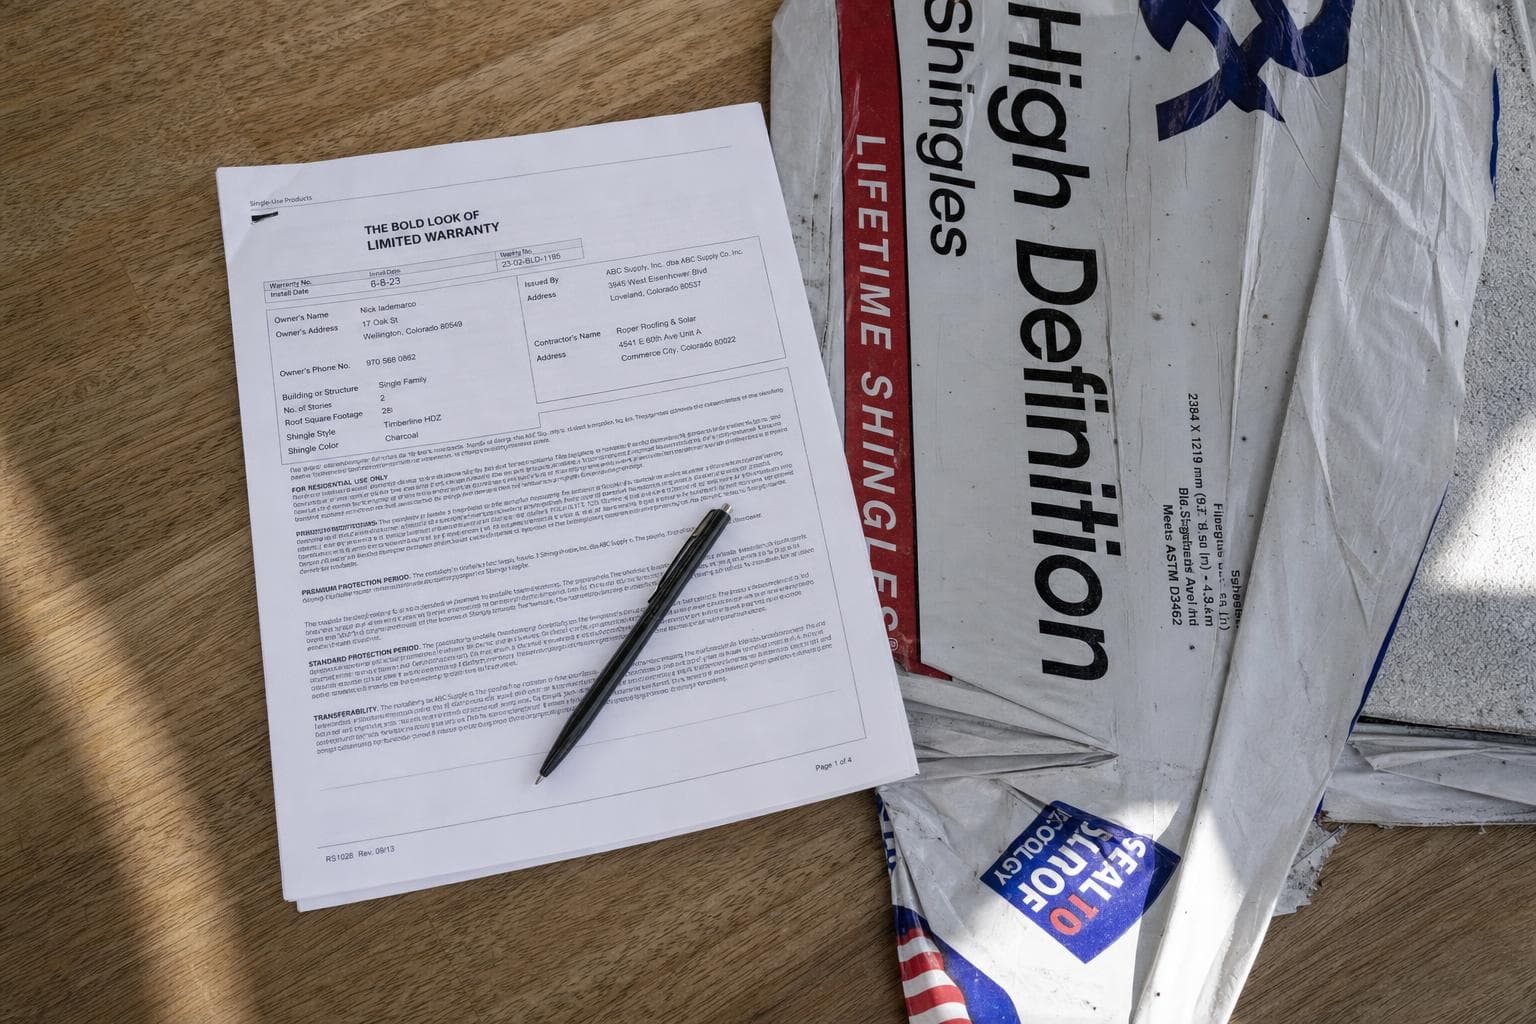
- Warranty or completion review: compare installed products and details with the contract, approved documents, instructions, and records available for the project.
Ask whether the inspector is providing observations, a construction estimate, engineering, code evaluation, insurance adjusting, warranty administration, or another professional service. Those roles have different qualifications and boundaries. One person may perform more than one role where permitted, but the report should identify which role supports each conclusion.
Create a safe homeowner baseline
Do not climb onto a wet, steep, high, damaged, fragile, snow-covered, or unfamiliar roof. From the ground, photograph every building side and visible roof area. Record displaced material, debris, damaged edges, overflowing drainage, changed rooflines, branches, and exterior components. Use overview photographs before zoomed details so a later reader can locate each observation.
Inside, record the room, wall, and ceiling location of stains or active water. Note when the condition appears: wind-driven rain, prolonged rain, snowmelt, plumbing use, HVAC operation, or no obvious weather trigger. Accessible attic observations can be useful, but avoid unsafe framing, wet insulation, exposed wiring, excessive heat, pests, and confined areas. A musty odor or dark material is a reason to investigate, not a diagnosis by itself.
Organize the exterior inspection by roof area
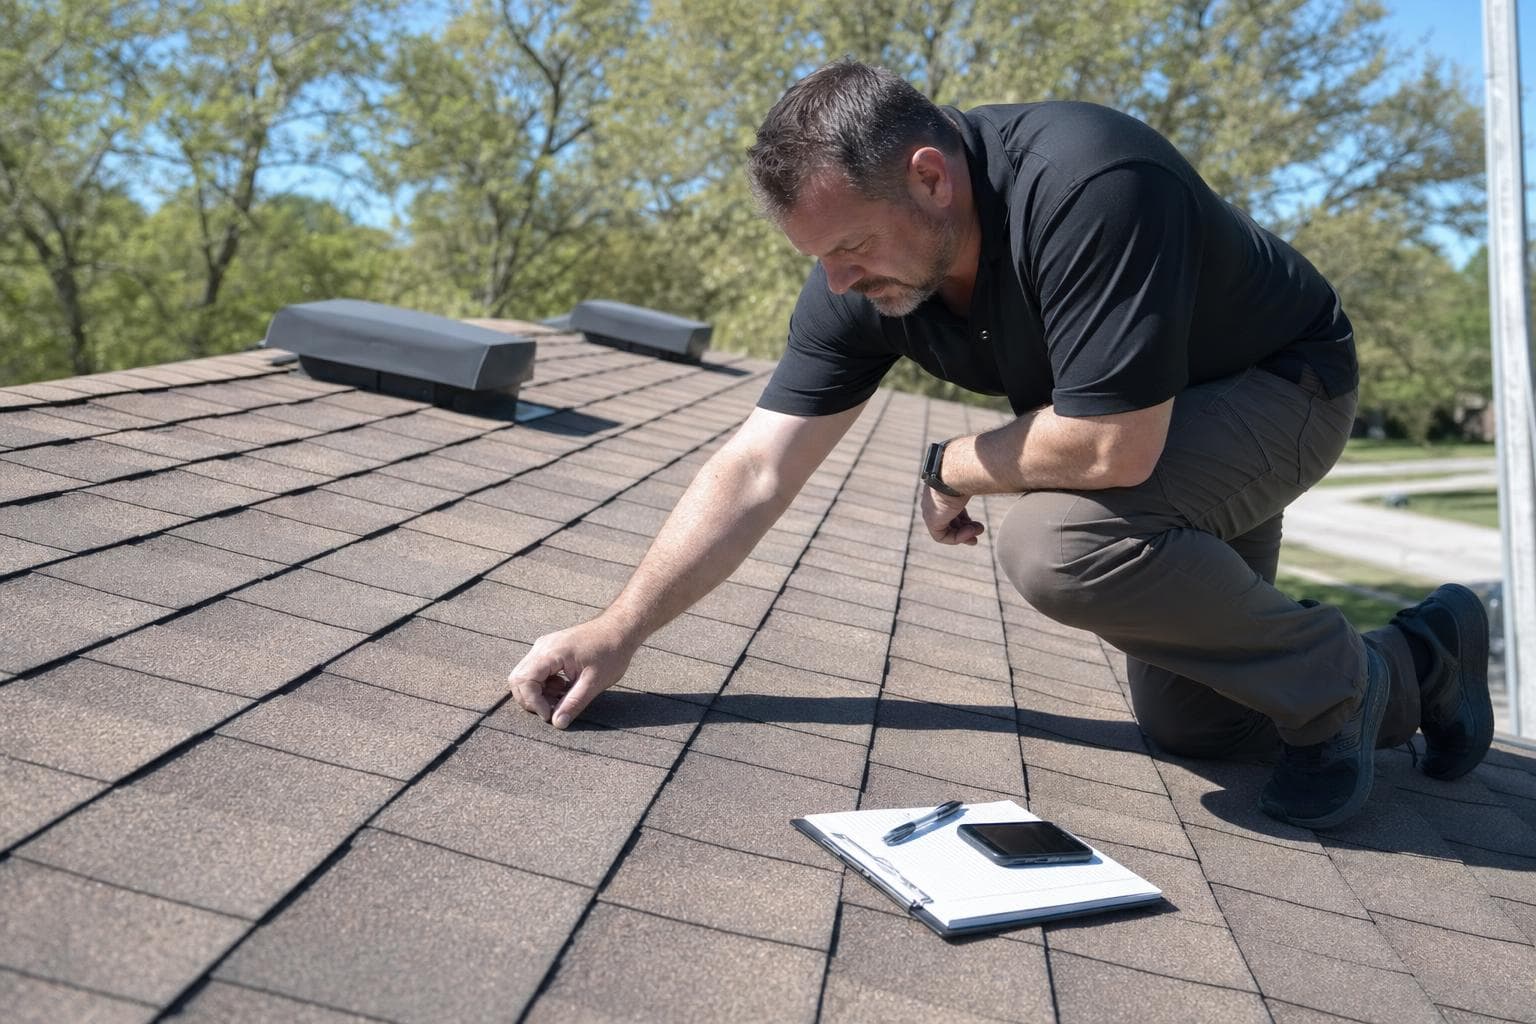
The report should identify each roof area by orientation, level, material, or a simple diagram. It should state how the area was viewed, whether it was walked, observed from an edge, photographed by drone, or not accessed. Aerial images can show geometry and missing pieces but may not establish subtle surface condition, attachment, lap details, deck response, or the underside of a transition. Access limitations belong in the findings, not in fine print after the recommendation.
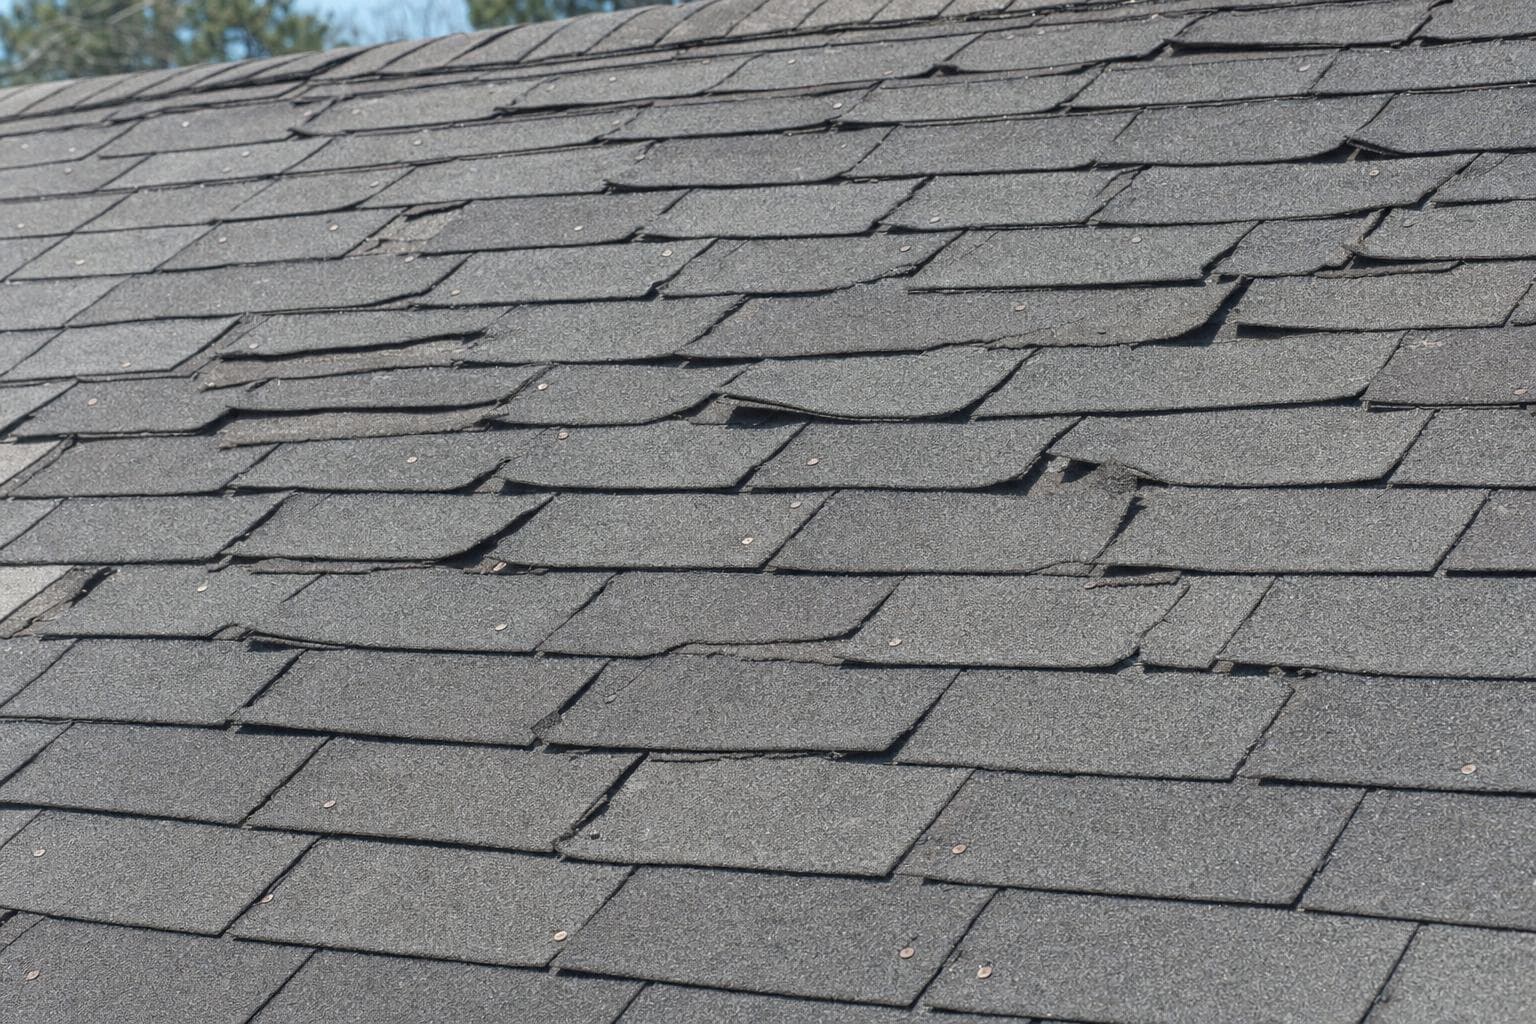
- Field covering: identify the material and record displacement, fractures, loss, deformation, corrosion, coating changes, open seams, or other product-specific findings.
- Edges: review eaves, rakes, fascia, soffit, drip edge, starter, attachment, and places where wind or drainage first acts on the assembly.
- Drainage: review valleys, gutters, downspouts, scuppers, drains, overflow routes, ponding areas, debris, and discharge at the property.
- Transitions: review walls, chimneys, curbs, additions, slope changes, material changes, and low-slope tie-ins rather than treating sealant as the whole detail.
- Penetrations and accessories: review boots, vents, skylights, equipment, mounts, fasteners, flashings, closures, caps, and evidence of earlier service work.
Talk to a roofer today
Planning ranges, scope details, and a direct path to request a roofing quote.
Connect attic and interior evidence to the roof
Water can move along decking, underlayment, framing, fasteners, ducts, insulation, and ceiling surfaces before becoming visible. The inspector should relate the highest accessible moisture evidence to roof features above and consider plumbing, condensation, HVAC, and wall entry as alternatives. Old stains, rusted fasteners, and dry rings establish history but do not prove an active opening today. Moisture measurements and controlled testing can add evidence when their methods and limits are documented.
The attic review should also identify the intended vented or unvented assembly, insulation location, air leakage indicators, exhaust ducts, and moisture patterns relevant to the inspection purpose. It should not automatically prescribe ridge vents, more insulation, or roof replacement from temperature or staining alone. The Department of Energy's durable-attic guidance emphasizes that rain entry, indoor moisture, air sealing, insulation, and ventilation can interact.
Require material-specific observations
Asphalt shingles, metal panels, tile, slate, wood, and low-slope membranes have different components and failure modes. A generic shingle checklist is not enough for a mechanically seamed panel, adhered membrane, or tile roof with concealed underlayment. The report should name the material when possible, distinguish field covering from accessories, and explain how observed changes affect water shedding, attachment, serviceability, appearance, or repair access for that system.
- Do not call every dark shingle mark impact damage or every missing granule a failure without location, pattern, and alternative-cause analysis.
- Do not call every metal dent a leak or ignore open seams, punctures, coating damage, fastener movement, and flashing because the field panel remains intact.
- Do not evaluate tile and slate only by counting broken units; attachment, flashing, walkability, replacement availability, and concealed layers may control the scope.
- Do not reduce a low-slope review to ponding photographs; inspect seams, flashings, penetrations, terminations, drains, surfacing, repairs, and substrate response.
What a decision-ready report includes
- 1Property, date, weather, inspector identity, purpose, methods, documents reviewed, access, and limitations.
- 2A roof-area map or consistent labels that connect every photograph and finding to a location.
- 3Observations written separately from cause, consequence, coverage, code, or repair conclusions.
- 4Material-specific reasoning, including alternatives considered and uncertainty that needs further investigation.
- 5An action category for each finding: protect now, repair, investigate, maintain, monitor, or plan a larger project.
- 6A proposed work boundary that identifies what must be opened and whether surrounding material can accept the tie-in.
- 7A record of items outside the inspection's scope and the qualified person or document needed to answer them.
Understand who is providing the inspection
A contractor inspection can be valuable because the contractor can connect observations to a buildable scope and price. An independent consultant may be useful when the owner needs a report separate from the company bidding the work. A home inspector, engineer, building official, manufacturer representative, insurer, or public adjuster may answer different questions. Independence, licensing, and permitted services depend on the role and jurisdiction; choose based on the decision, not a blanket free-versus-paid rule.
Ask who owns the report, whether it can be shared, whether photographs are included, whether testing is destructive, who restores openings, and whether an estimate is part of the service. Disclose relationships and compensation that may matter. Then evaluate the evidence itself: clear location, material-specific reasoning, stated limits, and a scope that follows from findings are more useful than labels such as certified, free, independent, or insurance approved.
Separate roof condition from insurance and permit decisions
An inspection can document storm-related evidence and proposed construction, but the insurer applies policy coverage, deductible, valuation, exclusions, and claim procedure. A report also does not replace permit review, code interpretation, engineering, hazardous-material evaluation, or manufacturer warranty decisions where those are required. For roof inspection what to check in your area, confirm project-specific legal and coverage questions with the responsible state agency, insurer, or local building authority before signing.
Questions to ask before accepting the recommendation
- Which photographed findings affect water shedding or attachment, and which are maintenance or appearance observations?
- Is the problem contained, repeated at one detail, limited to a section, or distributed across unrelated areas?
- What is the smallest durable repair boundary, and why can or cannot the surrounding material be tied into?
- What was not accessible, and could that unknown materially change the proposed scope or price?
- Which finding would change the recommendation from repair to replacement or from replacement to a smaller project?
- What should be monitored, on what schedule, and what specific change should trigger another inspection?
A useful roof inspection does not merely find marks. It locates conditions, explains their significance, states uncertainty, and gives the next person enough information to act.
Sources
Related roofing resources
Related services
Updated July 27, 2026
3D Roofs Editorial Team
Editorial Standards