Updated July 10, 2026

3D Roofs Editorial Team
Editorial Standards
If a storm just hit your Idaho roof, your first job is to protect the house, document what changed, and stop more water from getting in. Idaho weather can stress a roof in several ways. The state insurance guidance highlights wildfires, severe thunderstorms, high winds, and heavy precipitation from rain or snow as common disaster threats. For your roof, that means wind can loosen or lift materials, heavy precipitation can expose drainage and flashing weak points, and wildfire risk can make roof material choice more important, especially in more rural areas. In the first 48 hours, the goal is simple: stay safe, record the damage clearly, and get temporary protection in place while your local roofing contractor you have vetted helps sort out repair versus replacement.
What should you do in the first 48 hours after a storm hits your roof?
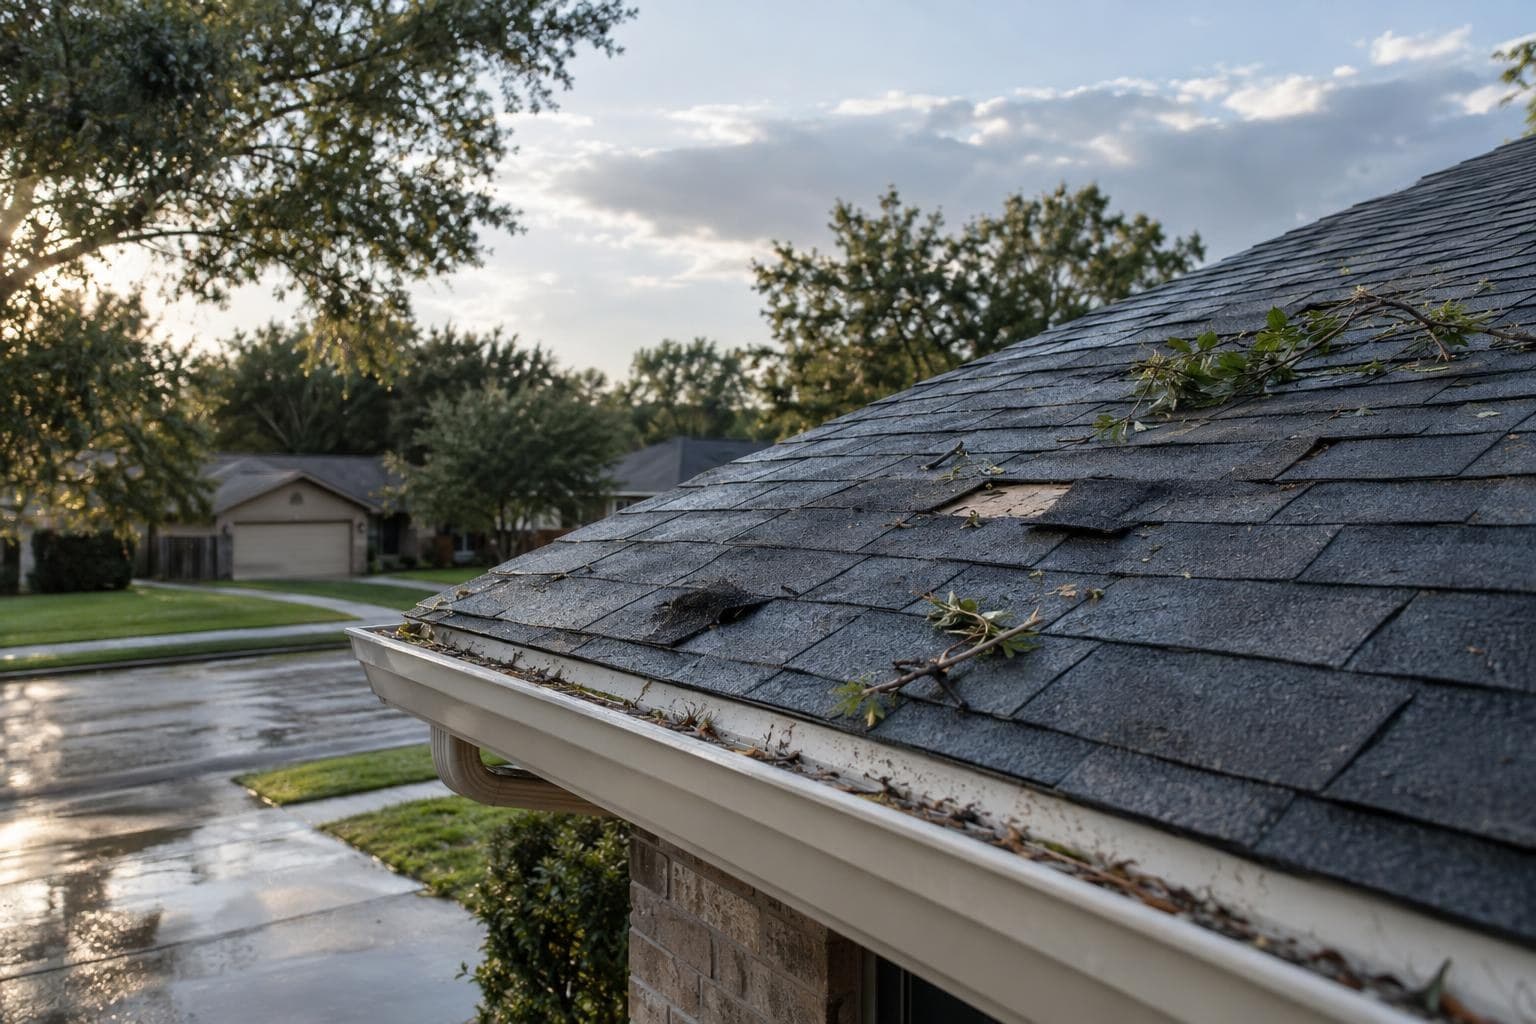
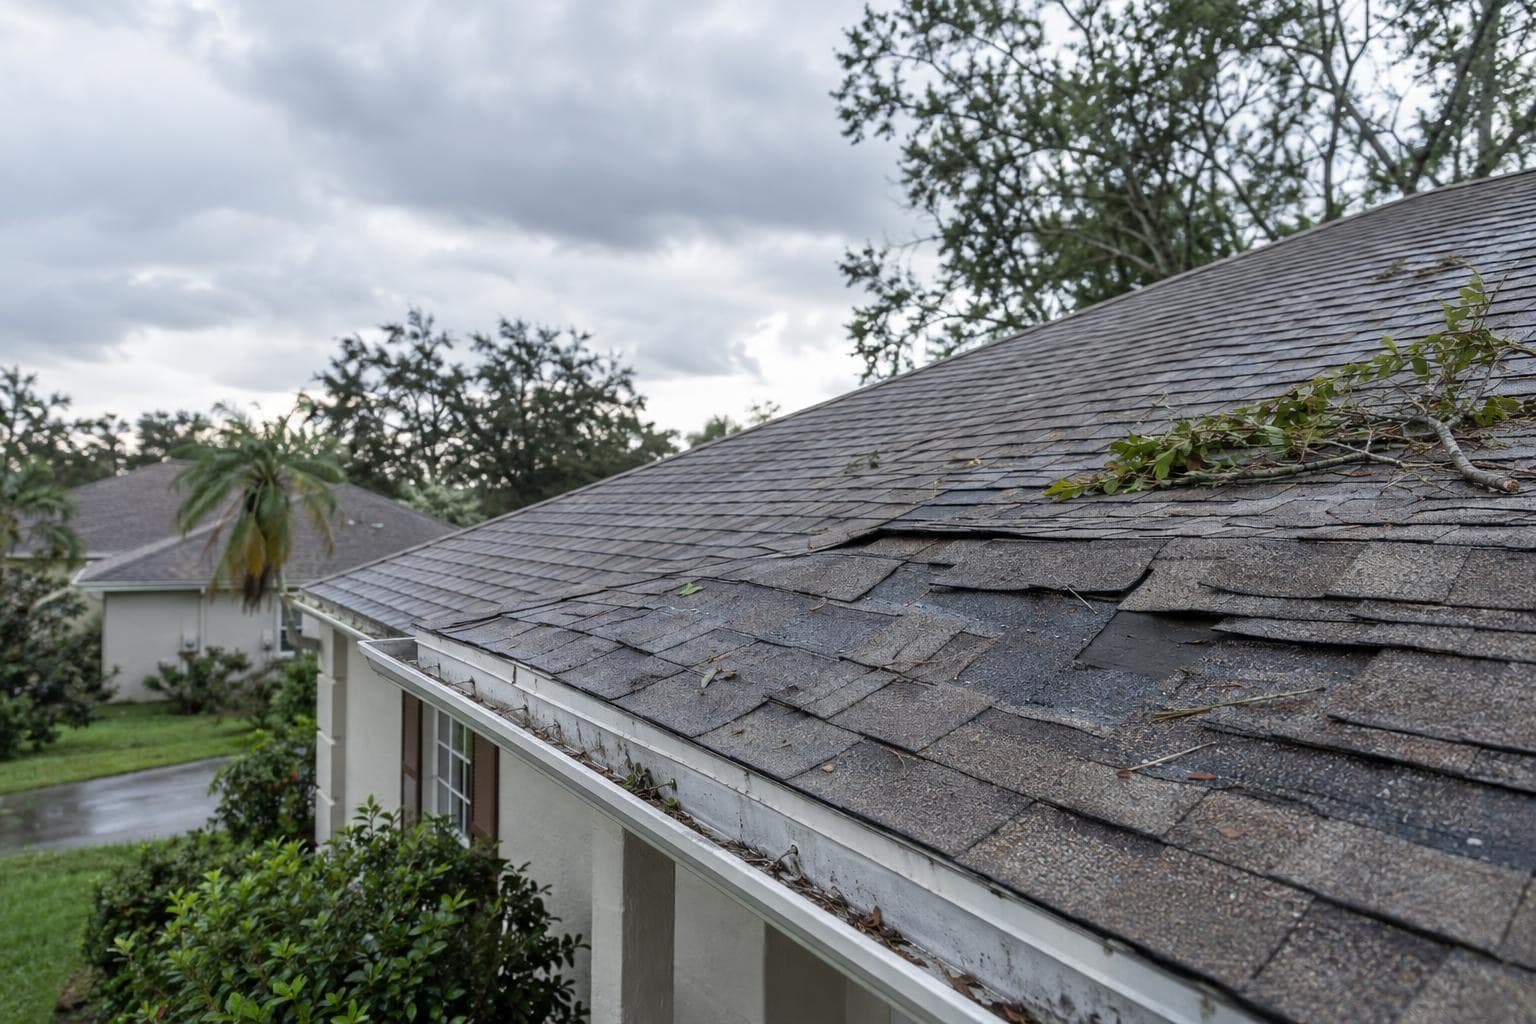
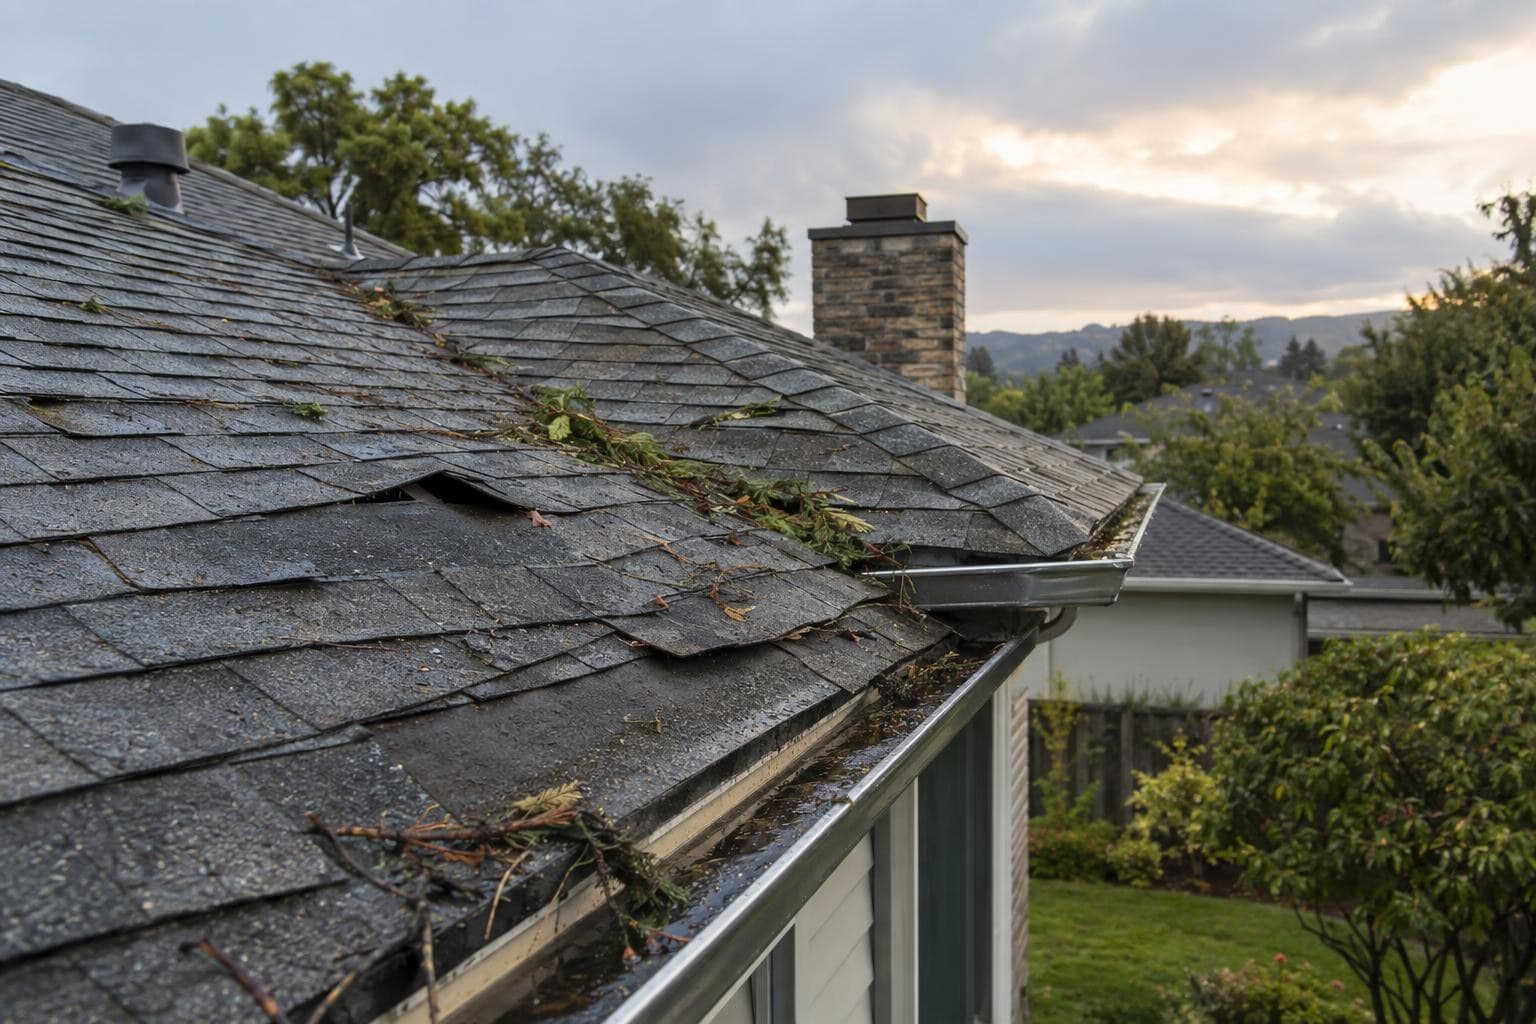
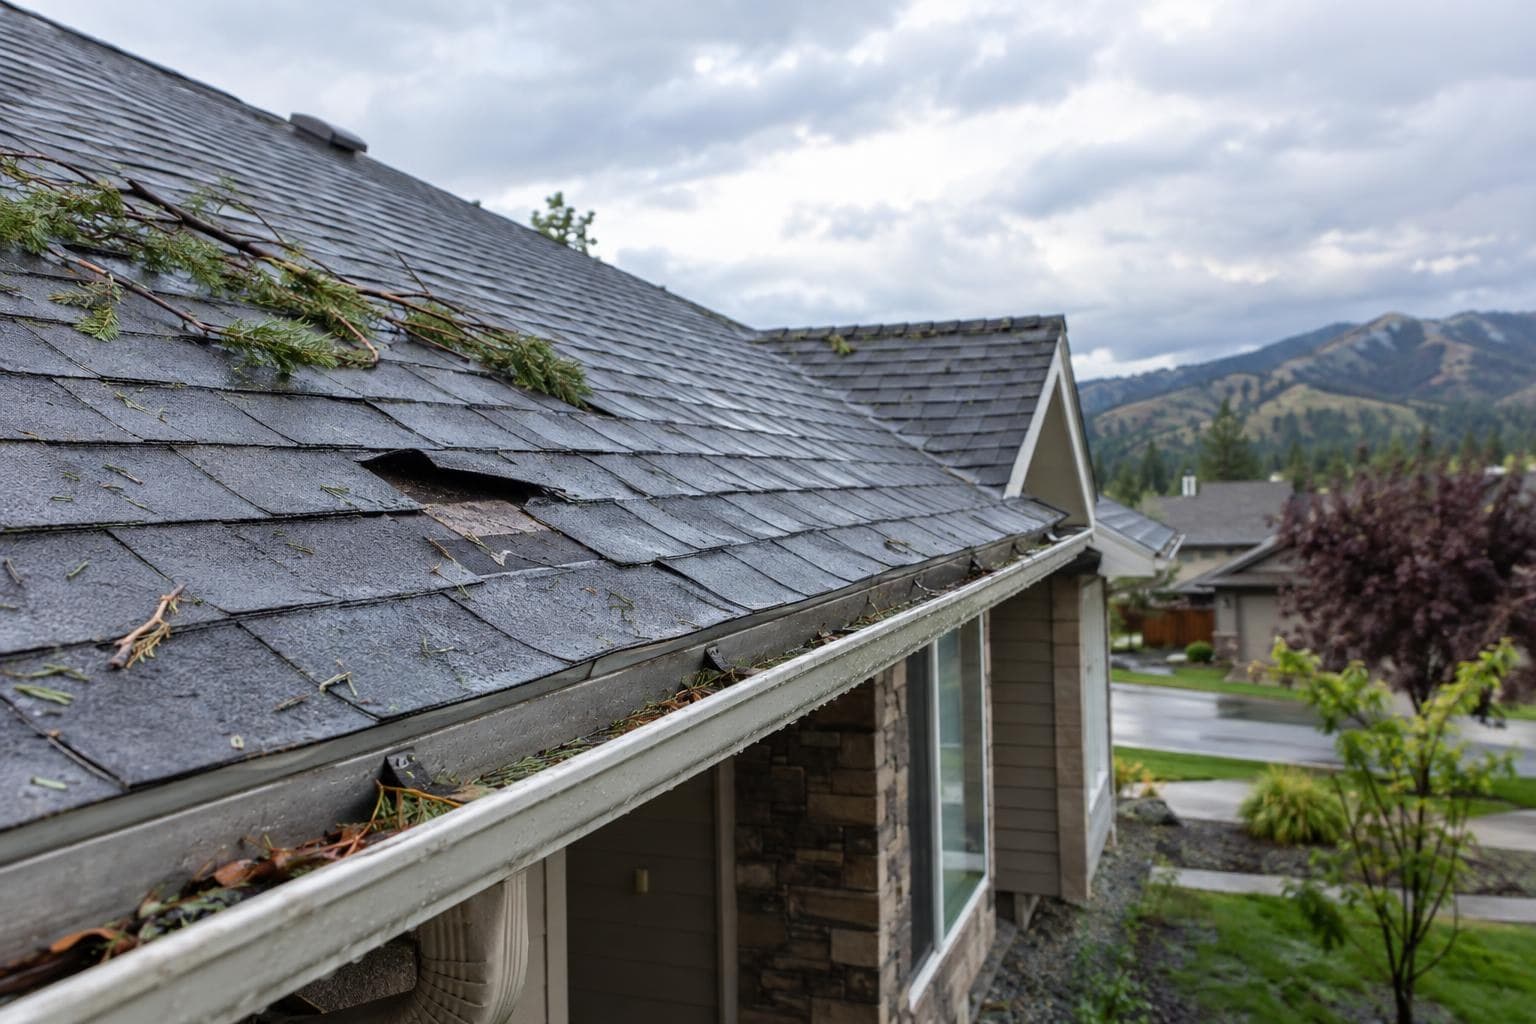
Start with safety, then documentation, then temporary protection. Do not climb onto a wet, steep, or obviously damaged roof yourself. Walk your property from the ground and look for missing shingles, bent metal, exposed underlayment, fallen branches, damaged gutters, and anything on the ground that came off the roof. Inside the house, check the attic, ceilings, and around vents or chimneys for fresh stains, drips, or damp insulation. Idaho's insurance guidance tells homeowners to take photos or video of the initial damage, avoid throwing damaged items out before the adjuster advises you to do so, and mitigate the damage to keep the property from sustaining additional damage once a loss has occurred. It also says to keep all receipts for mitigation for possible reimbursement. For a roofing claim, that means you should document the roof damage early and save receipts for temporary protection work.
- Take wide photos of each roof slope from the ground, then closer photos of visible damage.
- Record interior signs of leaks, including ceiling stains, wet drywall, and attic moisture.
- Move valuables out of wet areas and place containers under active drips.
- Save any pieces of shingle, metal, or flashing that fell off, if you can do it safely.
- Call a local contractor whose credentials you verified for an inspection and temporary dry-in if water may enter the home.
- Keep receipts for tarps, emergency service, and any cleanup tied to preventing more damage.
How do you document roof storm damage the right way?
The best documentation is clear, early, and organized. Take date-stamped photos and video before cleanup changes the scene. Capture the full roofline, each damaged area, and anything nearby that helps explain the event, such as broken tree limbs, dented gutters, damaged screens, or siding impacts. Inside, document every leak path from ceiling stain to attic wet spot if you can do so safely. Then make a simple file with photos, notes, receipts, and a short timeline of when the storm hit and when you first noticed damage. This matters because after a claim is filed, the Idaho Department of Insurance says the adjuster investigates the loss, reviews the policy, and may hire appraisers, engineers, or contractors to help evaluate damage. The guidance also says that if you have chosen a contractor, it is common for the claims adjuster to discuss the scope and estimate of damage with your chosen contractor and make a plan to move forward with repairs. That gives you a practical reason to have your roofer document the damage clearly.
Should you tarp a storm-damaged roof right away?
Yes, if the roof is open to water intrusion, temporary protection should happen fast. Tarping is not the final repair, but it can prevent a small opening from becoming ceiling, insulation, and framing damage. Idaho's guidance says you are expected to document damage and mitigate further loss, so a prompt tarp or other temporary dry-in step is usually the practical move. Have your roofer photograph the damaged area before and after the tarp goes on, then keep the invoice and any material receipts. If water is already entering the house, temporary protection is often one of the most important steps you can take during the first day.
Talk to a roofer today
Planning ranges, scope details, and a direct path to request a roofing quote.
How can you tell storm damage from normal roof aging?
The fastest way to separate storm damage from age is to look for a clear pattern of sudden change. Storm damage usually shows up as missing or sharply creased shingles after wind, punctures or impact marks after debris strikes, fresh damage to metal edges, and new leaks that appeared right after the weather event. Age-related wear usually looks more uniform and gradual, such as widespread granule loss, brittle shingles, long-term sealant failure, repeated patching, and general weathering that is not tied to one recent storm. Heavy precipitation can expose drainage and flashing weak points, so a storm may reveal an old vulnerability without being the sole cause. That is why photos from right after the event, plus a written inspection from your roofer, matter so much. You want evidence of what is new, what is pre-existing, and what the storm made worse.
- Storm damage often appears in concentrated areas or on the wind-facing slope.
- Freshly lifted, torn, or missing shingles point more to wind than age.
- New dents to vents, gutters, or metal roof accessories can support a storm timeline.
- A leak that started immediately after the storm is more persuasive than a stain that has clearly been there for months.
- Uniform wear across the whole roof usually suggests aging, not one isolated storm event.
When should you call a roofer and when should you call your insurer?
Call a roofer whose credentials and written scope you checked early when you see visible roof damage, active leaking, or signs that the roof needs a tarp. A prompt inspection helps you understand whether the issue looks repairable or whether the damage is broad enough to justify a claim discussion. If the storm damage appears significant, contact your insurer soon after you have basic photos and temporary protection underway. Keep the roles clear. Your roofer handles inspection, documentation, and repair scope. Your insurer and adjuster handle coverage decisions. Idaho also warns homeowners to carefully read any contract before signing and to be cautious when approached by anyone offering to assist with settlement of your claim or give advice about insurance coverage or your insurance claim. For you, that means getting a written scope from your roofer and comparing it carefully with the adjuster's scope.
What can you expect from the claim and payment process?
You can expect inspection, scope review, and questions about how your policy pays. Idaho's consumer guidance says you should ask whether your policy provides coverage for Replacement Cost or Actual Cash Value. It explains that if your policy provides Replacement Cost coverage, it is common for the insurance company to pay the Actual Cash Value up front, then pay the depreciated amount once repairs are completed or damaged items are replaced. If your roof claim is covered, that payment structure can affect your out of pocket timing during the job. You should also ask about matching. The Idaho Department of Insurance says your policy might not pay to match undamaged portions of items involved in your claim, including roof shingles, and that matching is often addressed in the policy provisions. If only one roof area is damaged, you should ask your adjuster to show you the policy language that addresses matching before you assume a full uniform replacement will be covered.
How much does storm roof work cost in Idaho?
Small storm-related roof work often falls into the repair range first, then moves to replacement only if the damage is widespread or the roof system is too compromised to patch well. For a storm-damage roof project in Idaho, begin with documented damage, the policy deductible, and a property-specific repair or replacement scope. For an early budget on a storm-damage roof project in Idaho, compare the Idaho cost page with a proposal that identifies measurements, products, accessories, and exclusions. The schedule for a storm-damage roof project in Idaho should explain access, material staging, weather protection, inspections, and the process for discovered deck work.
Should you upgrade to a more impact-resistant roof after storm damage?
Yes, it is worth considering if your roof is being replaced and you want better resistance to future storm wear. In Idaho, weather threats include severe thunderstorms, high winds, and heavy precipitation from rain or snow, so tougher materials can make sense depending on your home and location. When comparing a storm-damage roof project in Idaho, use a written insurer response rather than a sales estimate for any impact-resistant roof credit. The Idaho sources provided do not give a state-specific rule on Class 4 roof discounts. If you are considering an impact-resistant roof, ask your carrier whether it offers a discount for a Class 4 rated product and what documentation it requires. Carriers set their own discounts, so you should confirm availability and terms directly with your insurer before you choose materials.
How do you choose the right roofer after a storm?
Choose a local roofer you have vetted who gives you a clear written scope, documents the damage well, and explains temporary protection separately from permanent repair. Idaho has a Contractors Board with registration search, registration applications and renewals, and complaint filing tools. That means a smart first step is to confirm that your roofer is registered through the state's Contractors Board and to review whether any formal actions appear in the board's discipline resources. Ask for photos, repair notes, and material options in writing so you can compare them with the adjuster's findings. If your roofer and adjuster discuss scope, that is common, but you still want your own copy of everything.
The bottom line is simple: after a storm hits your Idaho roof, the first 48 hours are about stopping more damage and building a clean record of what happened. Take photos, protect the home, save receipts, and get a qualified local roofing contractor involved early. That gives you a better shot at a smoother repair, a clearer claim conversation, and a roof that is ready for Idaho's next round of wind, rain, snow, or heat.
Sources
Reviewed technical references for Idaho
Related Idaho roofing guides
Related services
Updated July 10, 2026
3D Roofs Editorial Team
Editorial Standards